Clothing Mending for Beginners: Simple Repairs That Last
Choose a suitable repair for a loose button, open seam, frayed hem, or small hole, and know when professional help is safer.
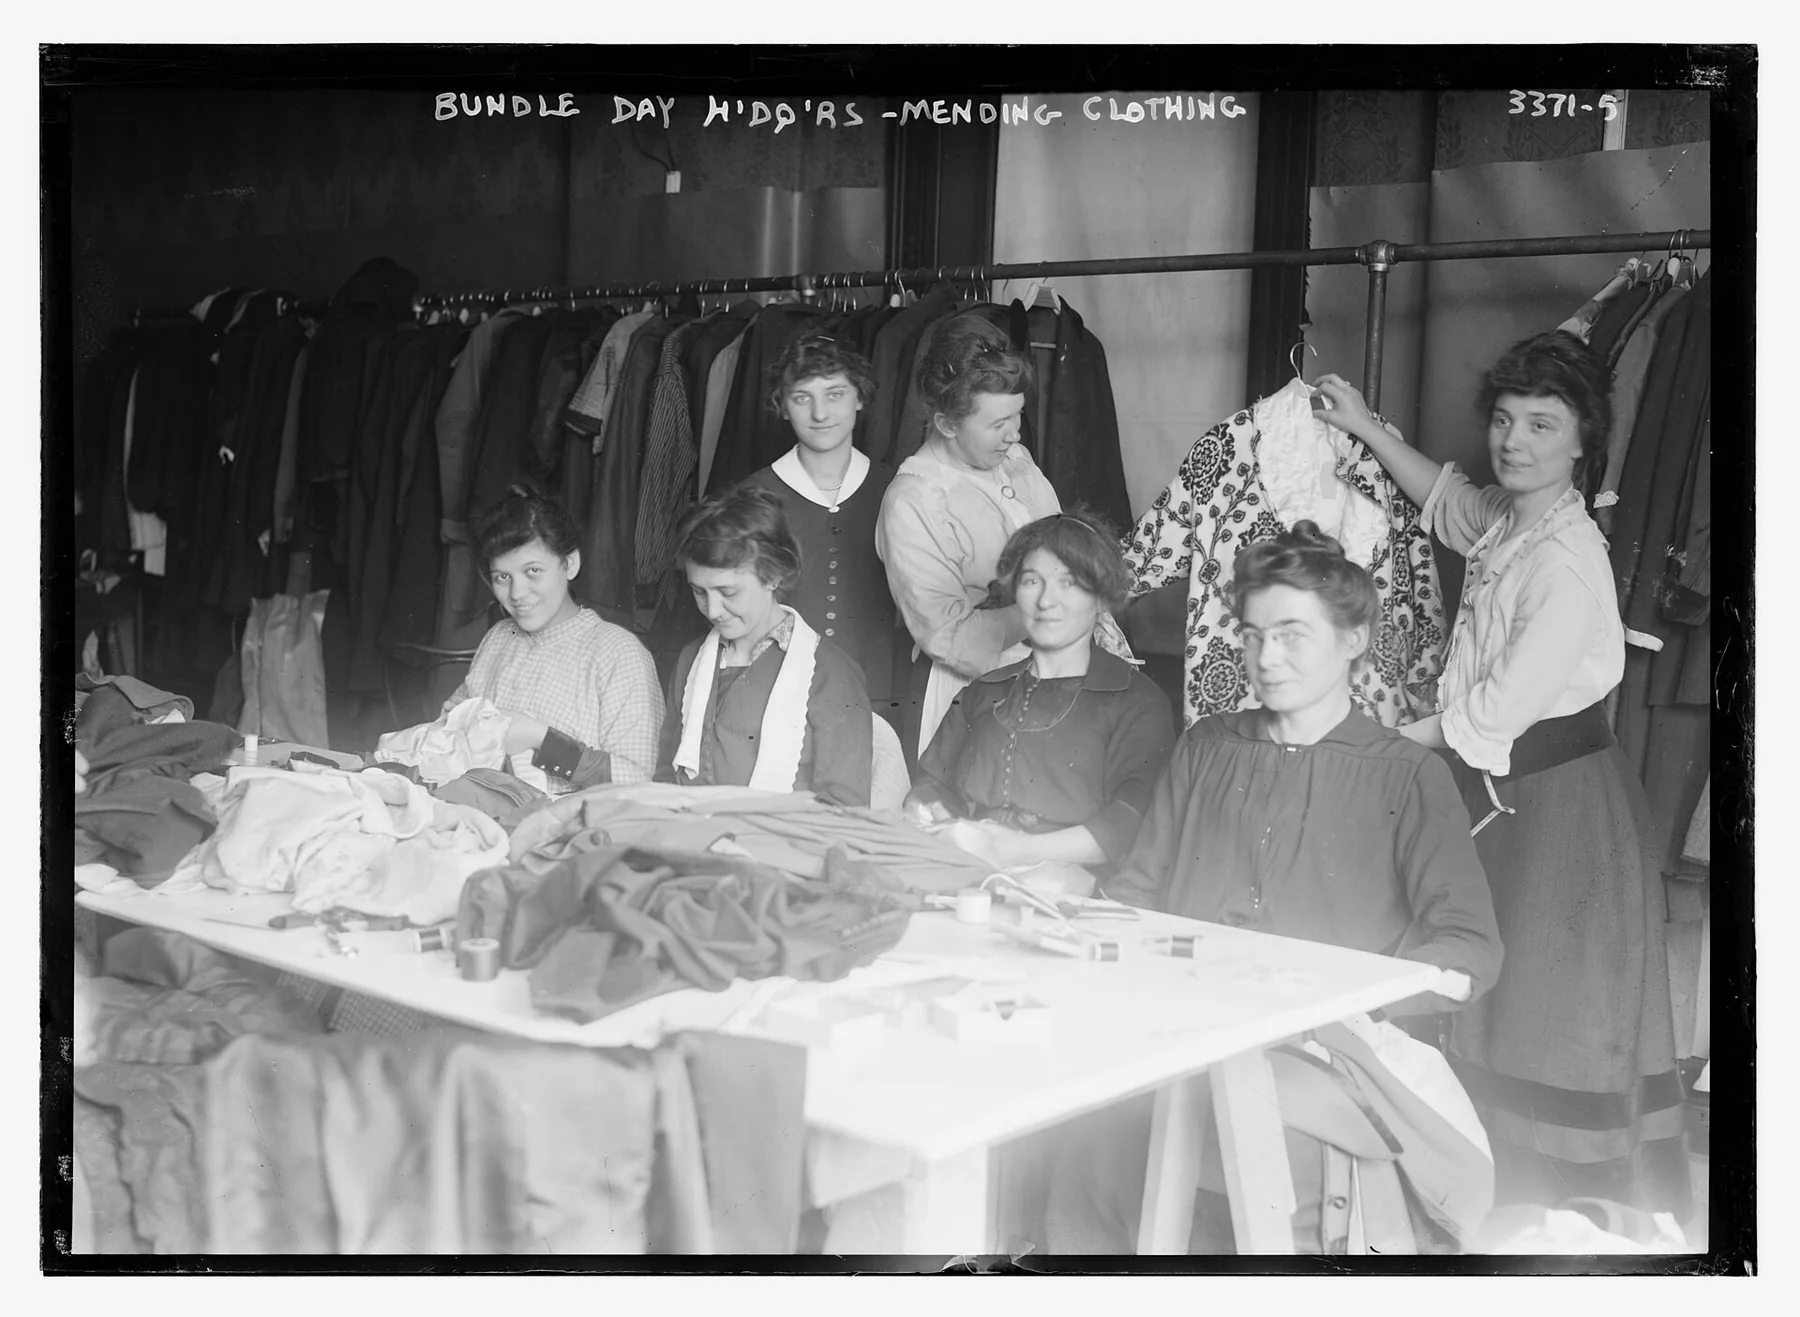
A small clothing repair can keep a useful garment wearable without requiring a new sewing machine or a perfect hand stitch. The best place to begin is with the garment’s fabric, the location of the damage, and how the item is used. A loose button, opened seam, frayed hem, and worn-through knee need different approaches. If a repair would compromise a safety feature, a waterproof layer, or a garment’s fit in a way that matters to the wearer, seek a qualified repair service or choose another garment for that use.
Inspect the garment before choosing a repair
Turn the item inside out and look at the area in natural light. Check whether the fabric has a clean tear, a loose seam, a missing fastener, thinning material, or damage from repeated friction. Look at nearby areas too: a small hole may be part of a larger worn patch. Gently check the fabric rather than pulling on it. If the surrounding material is brittle, stretched, or very thin, sewing directly through it may enlarge the tear. A patch that distributes tension over sound fabric could be more appropriate, or the garment may need professional assessment.
Check the care label and any manufacturer’s repair instructions. Fabric weight, stretch, weave, lining, and surface finish affect what thread and patch will hold. A repair method that works on a sturdy cotton shirt may not suit stretch knit, delicate silk, technical outerwear, or a lined garment. The European Environment Agency’s work on textile design treats longevity, maintenance, repair, reuse, and recycling as distinct parts of a circular textile approach. The practical implication is simple: match the care and repair choice to the product rather than assuming one technique works for all fabrics.
Start with repairs that restore the original function
For a loose button, compare it with the other buttons and choose one close in size and weight. Keep any spare button already attached to the garment or stored with its care label. Use thread that suits the material and leave enough room for the button to fasten without pulling tightly against the fabric. If the button is on a coat, uniform, or item that experiences repeated strain, reinforce the area or ask a tailor if a hand repair is unlikely to hold.
For an opened seam, align the original seam edges and stitch through sound fabric just beyond the weakened section. Avoid pulling the thread so tightly that it puckers or cuts into the cloth. If the seam allowance is small or the fabric is fraying, adding a reinforcing strip on the inside may help distribute stress. A garment with a broken zipper, damaged lining, or complex construction may be better handled by a repair shop, especially when the wearer depends on it for work or weather protection.
A small hole can be stabilized with a patch. Choose a fabric that is compatible with the garment’s stretch and care needs. Place the patch so it extends beyond the damaged area onto stronger cloth. Pin or baste the layers before stitching to prevent shifting. Use short, even stitches around the damage, and avoid pulling hard at any one point. Some people prefer visible mending, which makes the repair decorative; others want the patch to blend in. Both are valid if the repair is comfortable and durable enough for the intended use.
For a hem that has come loose, refold the original line if it is still visible, pin it in place, and sew it without pulling the fabric into gathers. If the length needs to change, try the garment on with the shoes or layers it will be worn with. A temporary hand stitch can help confirm the length before making a more permanent repair. For garments worn by children or people who use mobility equipment, check that the hem will not catch on wheels, steps, or footwear.
Use a small repair kit and avoid unnecessary purchases
You may already have a needle, thread, scissors, spare buttons, and a few fabric scraps at home. Keep a compact kit in a container that is easy to find. If you need supplies, buy only what matches the repair you have chosen rather than a large assortment of tools that may remain unused. A repair café, library workshop, sewing group, or tailor may lend equipment or teach a technique. Zero Waste Scotland’s repair and reuse guides include a guide for running a repair workshop, which can help readers find or organize community support in Scotland and offers a model for other places.
Use sharp tools carefully and keep needles away from young children and pets. If sewing is uncomfortable or difficult, try a magnifier, a better-lit work surface, a thimble, or help from another person. There is no requirement to repair every garment yourself. Paying a local professional, asking a friend, or deciding that a repair is not worthwhile can all be reasonable choices.
Decide when repair is not the best next step
Repair can be limited by the garment’s condition, the availability of parts, time, cost, or the wearer’s needs. A patch may not restore waterproof performance; a seam may reopen if the surrounding fabric is worn; a damaged fastener may be difficult to source. Do not keep repairing an item in a way that makes it uncomfortable or unreliable. If the garment still has useful fabric but no longer works as clothing, consider whether another user or a textile-reuse group has a suitable use for it. Do not send it to a donation shop without checking its acceptance rules.
When a repair fails, inspect why before trying again. The thread may have been too weak, the stitches too close to the edge, or the chosen patch too stiff for the cloth. If the tear expanded, stop pulling at it and consider a larger reinforcement or a professional repair. Repeated stitching through fragile fabric can create additional holes, so recognize when the material itself has reached the end of its useful life.
Care that supports the next repair
Simple storage and care can make a later repair easier. Close zippers and fasteners before washing when the garment instructions recommend it, empty pockets, and mend small openings before they expand. Follow the care label rather than applying a generic wash temperature or drying method. Store clean, fully dry clothes in a way that avoids crushing delicate pieces, and keep spare buttons or matching thread with the item when possible.
WRAP’s sustainable clothing guidance identifies care, maintenance, durability, and repair support as factors that contribute to longer use. The exact right routine depends on the garment and its instructions; no single wash schedule suits every fabric or wearer. If a repair keeps a garment comfortable and functional, record what you did so future caretakers can understand the patch or stitch.
Mending is a practical way to keep an item in service when the damage is repairable and the repair meets the wearer’s needs. Begin with a close inspection, choose a technique suited to the fabric, and ask for help when the construction or function is beyond your skill. A neat repair is optional; a useful, comfortable result is the point.
Sources
Continue Your Zero Waste Journey
Ready to learn more? Explore our other guides and tips for sustainable living.